

Causes of Knee Pain
Knee pain is typically caused by mechanical dysfunction related to altered position and movement. The most common cause for knee dysfunction is a tracking or alignment disorder. We are concerned with how the knee moves and if the knee shifts inwards or outwards throughout its motion. Imagine the hinges on a door. They need to line up straight in order to function correctly. If not, every time you use the door, the hinges will grind. The same thing can happen with the knee. If the knee begins to travel inwards, then the outside of the knee is compressed while the inside of the knee is under tension. This also causes the kneecap to travel to the outside of its normal groove in the leg bone. The dysfunction puts stress on the meniscus, ligaments, cartilage, tendons, and other structures in the knee. Over time, the damage adds up. One could expect to develop osteoarthritis and other problems if the issue isn’t corrected.
So why would the knee begin to move and track differently? I often tell my patients, “You’re not just what you eat…You are what you do”. If you tend to sit with your right leg crossed over the left for hours a day at your desk, or if you have poor form squatting, then you are likely training an altered movement pattern or muscle imbalance. The muscles of the leg are designed to coordinate together acting to keep the joint in line throughout it’s range of motion. Weak or overactive muscles alter the coordination resulting in poor tracking.
Another issue may be down in the foot and ankle. Those who have fallen arches or “pronation of the foot” will tend to shift the knee inwards. Of course, there can always be an acute trauma like a sports injury or car wreck that damages tissues upon one dramatic event. Even so, the mechanics will be altered and lead to further degenerative changes if not corrected. Hence the reason you do rehab after surgical repair.
Does knee pain go away on its own?
Most Knee pain will go away on its own if the offending activity is stopped. However, knee pain usually comes back when people become active again. Most patients experience a pattern of remissions (it gets better), then exacerbations (it gets worse), with a general trend of more severe episodes over time. This is because the bad mechanics causing knee pain are not resolved without corrective treatment and the damage accumulates weakening structures in the knee.
When to see a Doctor
Knee pain that does not go away after two weeks of rest, or knee pain that returns after resuming normal activities is a big warning sign that something is not working right in the knee. Though the cause is usually mechanical in nature, there are some other more serious reasons for knee pain that could be disastrous to ignore. Better to be safe than sorry. If your knee pain doesn’t go away in two weeks, you need to see a doctor…preferably one that is familiar with musculoskeletal conditions. You may receive a referral from your family doctor to see a Chiropractor and/or physical therapy.
Product Recommendations
If your day involves a lot of kneeling, try a foam knee pad. Place the pad under your knees when kneeling on hard surfaces: like gardening or cleaning or repairs at home. If you are moving around a lot, you may want to consider knee pads that stay on your knees. Make sure and get strap-on knee pads with Velcro for easy attachment. If your profession requires a lot of work kneeling on hard surfaces, it would be wise to invest in nicer pads. Otherwise, you can find them for less than $10 online.
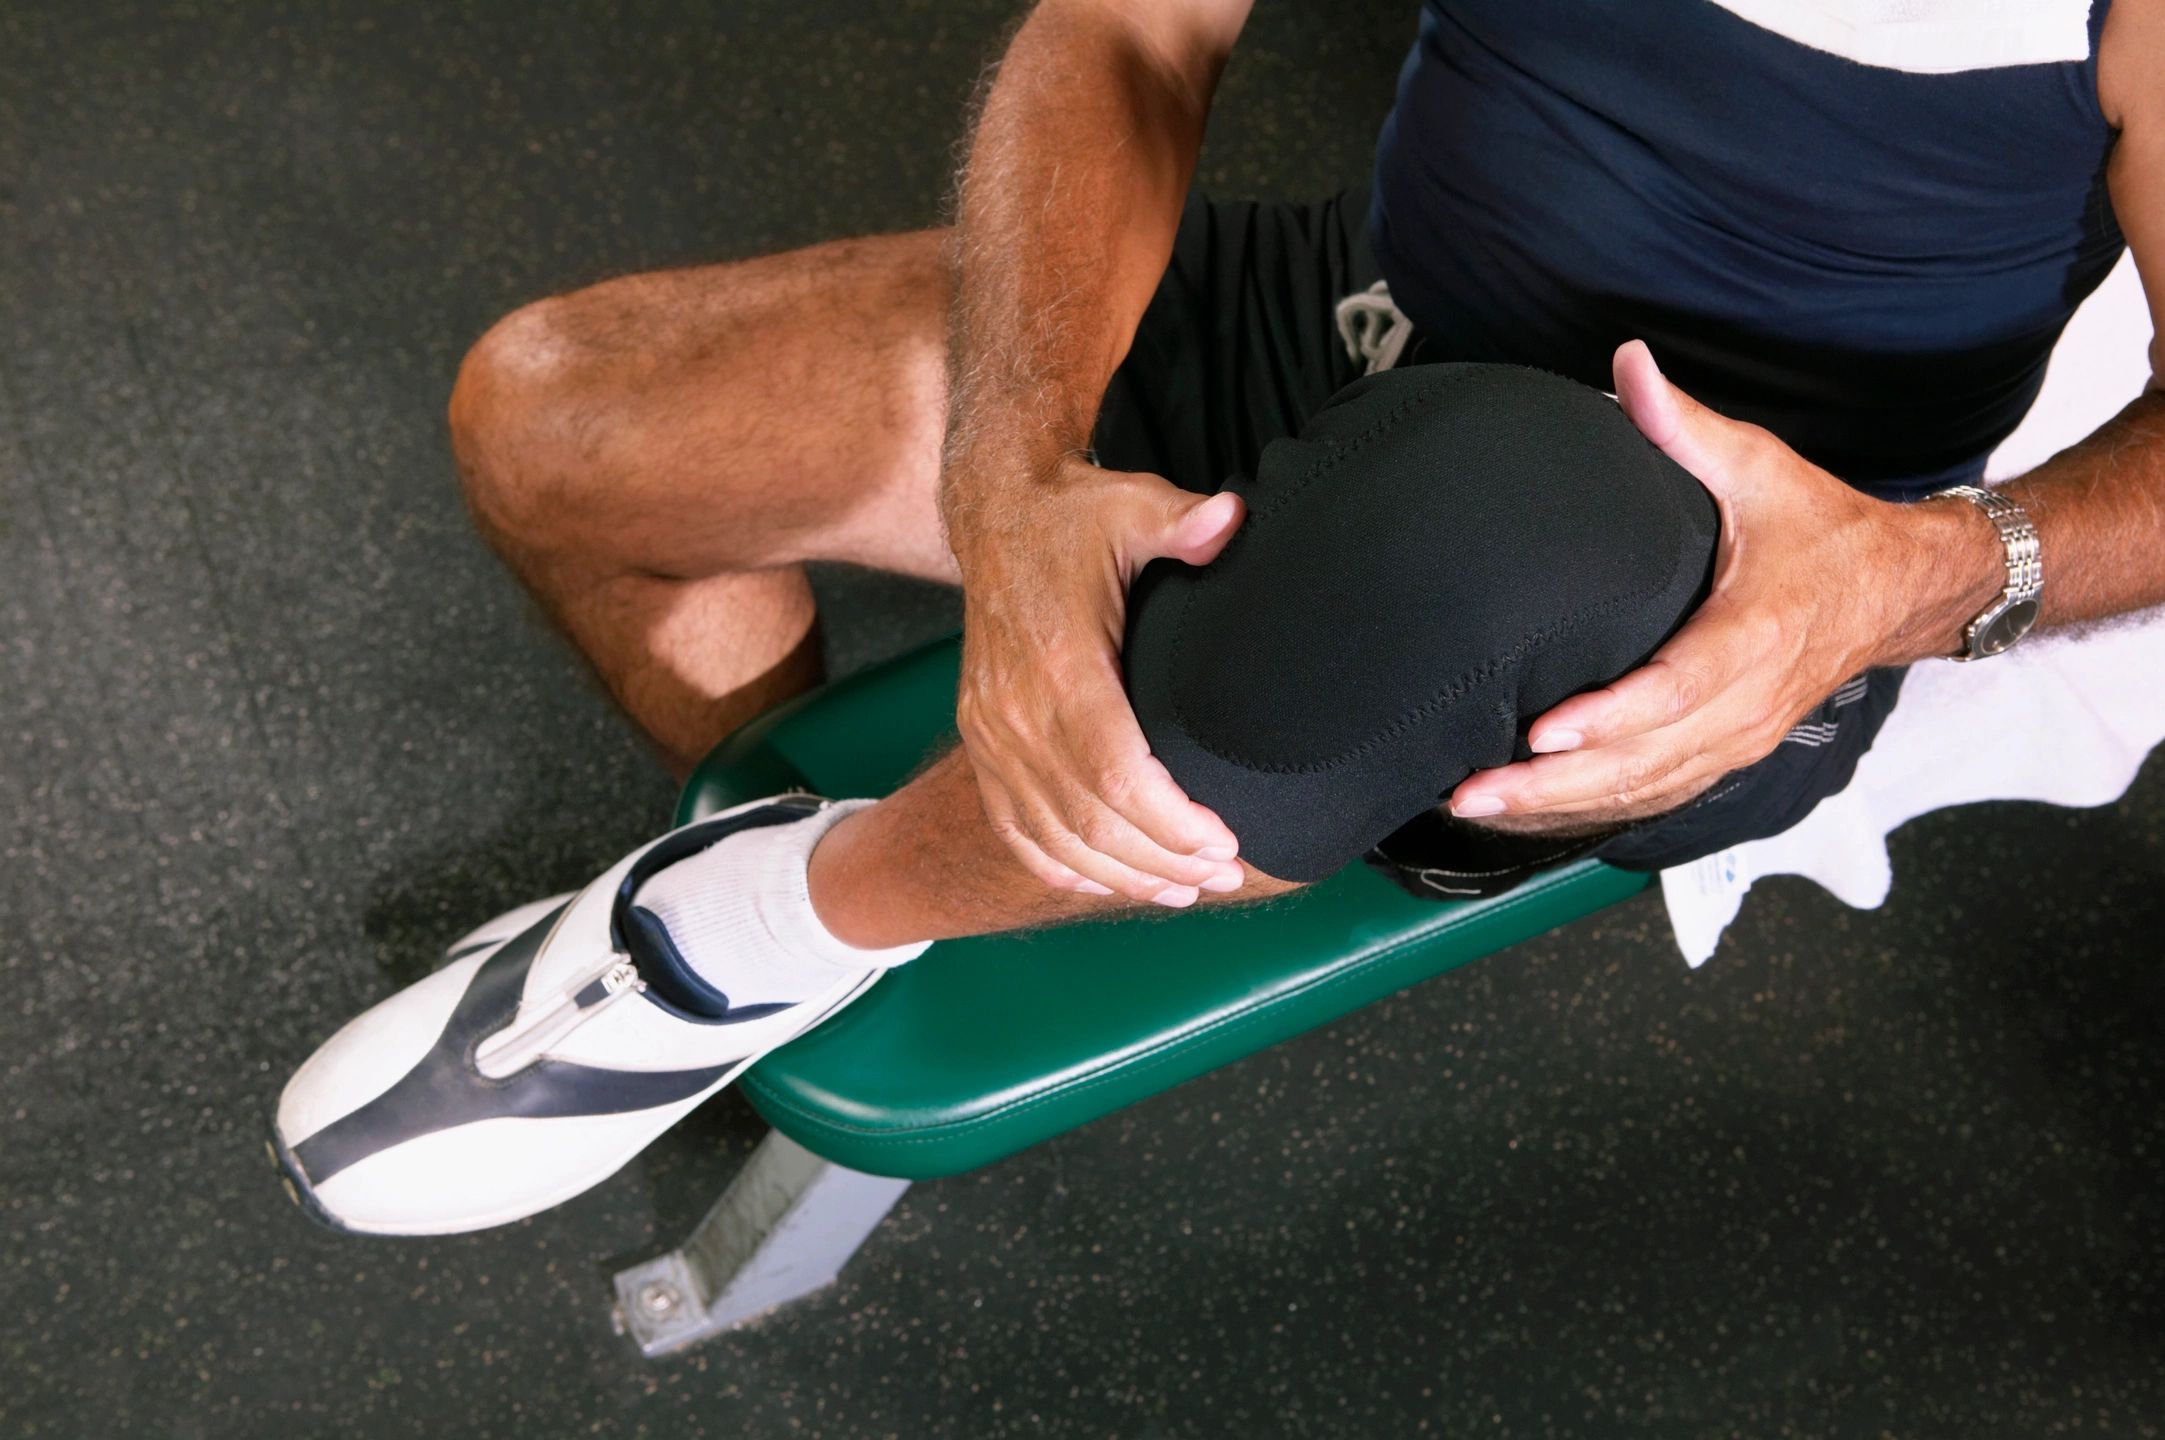
A simple knee strain or tendinitis may benefit from a compressive brace. These types of braces can improve support stabilizing the joint during activities. It can also help to create compression that will reduce swelling. These braces are more for mild injuries that require support when you are active. To use a compressive brace, simply slide the brace on with the hole over the knee cap. There’s usually no left or right sidedness to these items.
For patellar tendinitis, one may try patellar straps. These devices go below the knee cap to take stress off the tendon during activity. A similar idea is the ITB strap to support the iliotibial band for “runner’s knee”. The strap easily fastens above the knee far enough not to contact the knee cap and features a gel pad that is placed on the outside of the thigh.
In cases of instability such as a moderate to severe sprain, ligament tear, or meniscal injury, a hinged brace may be favorable. The action of the hinge limits any side-to-side motion and keeps the joint in check. In these cases, a patient would not want to be doing any strenuous activity and the brace simply functions to help someone to walk so they can go about their day-to-day business with less limitations. Use this type of brace by positioning the hinge at the level of the knee between the two bones of the upper and lower leg with the knee slightly bent. Secure the bands around the top then bottom. Ensure it is firm, but not so tight to cause decreased blood flow. This should be comfortable enough to wear for 1 or 2 hours. While still seated, bend and straighten the knee to ensure it feels right and the bend is occurring in the correct place. Get up and take a few steps. Do any readjustments as needed.
Further adjustments may need to be done throughout its use to reposition and to relieve pressure caused by the brace.
In more severe cases, when a patient has advanced osteoarthritis or is post-surgical, a ROM hinged brace may be the solution. This type of brace is fitted and calibrated to limit the range of motion of knee flexion and extension. The purpose is to prevent specific end ranges of motion that may damage the joint as well as provide control of side-to-side movement in the knee. Ideally, the movement range of the brace would be increased over time as you progress through a course of treatment and the joint improves. To use this brace properly, you should have it fitted by a professional. The instructions are essentially the same as above with the additional step of calibration specific to your condition. Only a doctor or therapist should do this part.
Braces are not meant to be a long-term solution. They are a preventative measure against reinjury to allow you to heal. They should not be worn all of the time: only when performing tasks that require knee support. There are many online companies out there providing quality durable medical and rehab equipment. Your local drug store likely carries a variety of simpler items. If the problem persists, you need to seek the help of a professional.
When to Use PRICE
The mnemonic PRICE stands for Protection, Rest, Ice, Compression, and Elevation. Traditionally these methods are used for the first 72 hours after an injury. Protection & Rest so you don’t irritate/reinjure. Ice to bring down the temperature. Compression to combat swelling. Elevation to decrease the blood pressure to the affected limb. All of this works to reduce the natural inflammatory response that your body mounts to an injury.
This once traditional method is now being challenged and could even be said to be controversial. The idea here is that the body responds with inflammation for a reason: to promote healing and repair. There is an increase in blood flow and capillary dilation so that the body can bring in more nutritional/healing factors and likewise get rid of waste products. This of course results in swelling and warmth that speeds up metabolism: which can be a good thing. However, the argument can be made that our modern-day bodies tend toward too much inflammation to the point where it can be harmful. A little swelling might be OK, but if the swelling seems substantial, PRICE is probably best. I coach my patients to use PRICE briefly after re-exacerbations or reinjuries.
The 20/20 rule is usually a good strategy for icing a knee. Put ice in a plastic bag and wrap in cloth. Place on area for 20 minutes, then spend 20 minutes with it off, then 20 minutes on again. You can cycle through this several times. Instead of ice in a bag, peas or frozen vegetables work great. There are also plenty of form fitting gel packs on the market. You freeze them and reuse them. Never place and keep a frozen item directly on the skin, you need to use a cloth buffer.
An alternative to the above is an ice massage. Simply take a piece of ice and put it directly on the skin continuously moving it for about 10 minutes. Make sure and slide the ice so that it is completely off an area then back on again. The movement is important to ensure the tissue doesn’t get damaged. An Ice massage is great for getting in the contours along the knee cap. It also works excellent for muscle spasms.
There are devices for more severe knee inflammation that cool and compress at the same time. Some of them have a feature that pumps and cycles chilled water into the compress like the Polar Active Ice and Aircast Cryo Cuff. These devices are a little on the expensive side, but can be worth it if your condition is severe enough.
Do These Knee Exercises Before a Workout
If you are having mild knee problems, then there are some things you can do to improve the joint mechanics before your workout or activity. Try these simple warmups even before stretching. All you need is a resistance band (flat is best). This 5 to 10-minute routine is designed to loosen up your joints and activate muscles that will help to stabilize the knee ensuring proper tracking during your next activities. If you experience pain during any of these maneuvers, do not continue. Modify by reducing the amount of movement or do the easier version. While a muscular burning sensation is OK, joint pain or sharp pain is not acceptable. If all fails to relieve pain, discontinue the maneuver.
Marching knee taps:
March in place for 30-60 seconds with high knees tapping opposite hand to knee. Make sure to keep chest over pelvis and do not bend forward to tap knee. If pain, avoid twisting your torso too much. You can also tap same side hand to knee or avoid raising your knee so high.
Heel to Butt March:
Stand on one leg bringing the opposite heel towards the butt. The standing leg should remain slightly bent at knee. Attempt to hold for about 2 seconds then switch. This should be gentle. If you experience pain or cramping, don’t raise your heels so high. Alternate feet for 30-60 seconds.
Lunge steps w/ side bend:
Put your hands on your hips. Take a big 2 or 3-foot step forward making sure to keep both feet pointing straight and thighs in line with feet. The back heel should come up with toes pointing forward. The front foot should be flat with toes forward. Keep your chest over your pelvis. Reach the hand opposite your front leg up over your head and bend gently to the side until you feel a slight stretch. Slowly come out of the bend. Step the back foot forward even with the other foot so your are again standing. Alternate left and right stepping forward with bending for 30-60 seconds. If painful, ensure you are keeping your knee over your feet and try reducing the size of your steps.
Sidestep w/ Knee Band (Monster Walks):
Place an exercise band around your knees. Stand with feet slightly wider than shoulders while maintaining slight knee bend. Step to the left about one foot pushing the knee against the band and pause when both feet are firmly planted. Then bring feet back together returning to the start position. Alternate stepping (left, center, right, center) in this one-two-one-two motion for 30-60 seconds. You can also take multiple steps left, then multiple steps right once you get the hang of it. If pain, make sure knees are over feet throughout the motion or take smaller steps.
Knee Band Squat:
Place band around knees. Place feet slightly wider than shoulder width apart with feet turned out about 15 degrees. Push knees outward against band keeping knees over feet. Put your hands out it front with shoulders back. Slowly start to drop your pelvis bending from the hips and knees. Keep your chest over your pelvis lowering your body only about a foot. Hold for 2 seconds and return. Repeat for 30-60 seconds. If pain, ensure knees over feet and toes not turned out too far. Don’t over-arch your back. Also try lifting hands up as you lower your body. Don’t look down, slightly lift chin instead and look forward.
Marching Bridge w/ Band:
Lay on your back. Place band around knees. Place feet flat with knees bent to about 90 degrees. Push against the band and raise your pelvis off the ground: this is the starting position. Now, lift one foot about an inch off the ground and hold for 2 seconds. Place the foot on the ground returning to start position. Alternate sides for 30-60 seconds. If this is too much, try placing your heels closer to your buttocks. Ensure you aren’t pushing your knees outwards too far. You can also just raise and lower the pelvis without the march or put less pressure against the band to reduce stress.
If Pain Continues with Workouts or Activities
It is generally a good idea to discontinue your more aggressive activities after a knee injury. Two weeks of avoiding the use of the knee is standard. When you return to activities, go slow and careful. Build stepwise using caution and control, then move to more aggressive maneuvers. Check your form. You might benefit from having a trainer take a look at your routine to make sure your form is good and suggest alternative exercises should the pain persist during a particular movement. If you are still experiencing pain, it is time to see an expert like a Chiropractic Physician.